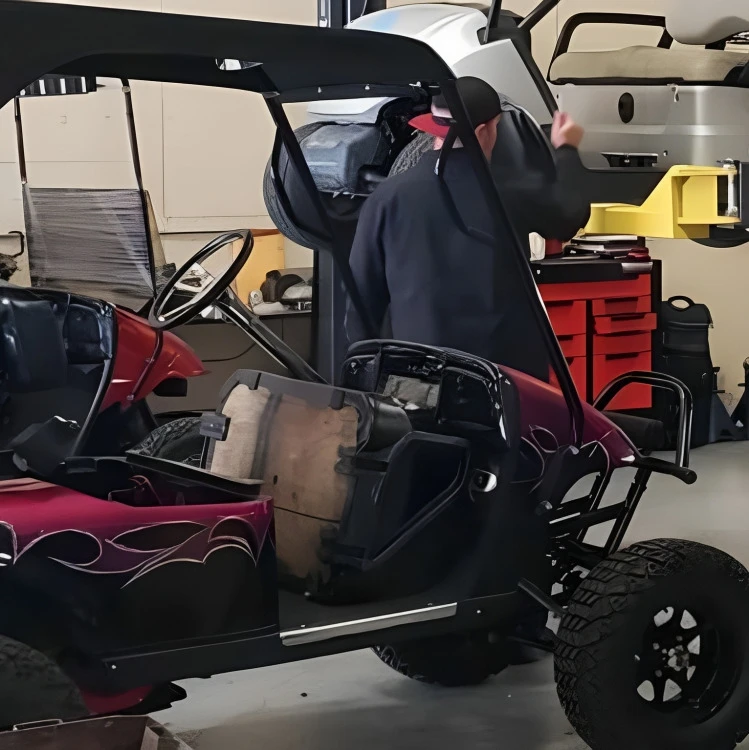
Maintenance is vital for the longevity and peak performance of golf carts, whether for leisurely rides or business use. A well-maintained vehicle ensures smooth journeys and reduces the risk of costly repairs. Here, we’ll explore key aspects of golf cart maintenance, emphasizing the need for regular checkups.
Golf Cart Maintenance Checklist
Daily Checklist
1. Tire Maintenance
Proper tire care is essential for a smooth and safe ride. Check tire pressure daily, inspect for wear and tear, and rotate tires as needed. A simple tire maintenance routine can significantly extend the life of your golf cart tires.
2. Check the fluid levels
Engine oil: Locate the dipstick, pull it out, wipe it clean, reinsert, and pull it again. Oil level should be between the markings, add oil in small increments if needed.
Coolant: Look for a translucent reservoir marked "coolant" or "antifreeze." Level should be near the "full" line when the engine is cool. Never open a hot radiator!
Brake fluid: Consult your manual for the specific location and type of brake fluid used. The level should be near the "full" line in a designated reservoir. Don't mix types!
3.lights and signals
Turn on all lights: Check headlights, taillights, brake lights, and running lights for brightness and proper function. Walk around the cart to confirm visibility from all angles.
Test turn signals: Activate both left and right turn signals, ensuring the corresponding blinkers flash consistently and at the correct rate. Double-check that brake lights illuminate additionally when braking while signaling.
Weekly Checklist
1. Battery Inspection and Care
The heart of any electric golf cart is its battery. Weekly inspect the battery for signs of corrosion, check water levels, and follow proper charging practices. A well-maintained battery ensures consistent power and prevents sudden failures during your golf sessions.
2. Inspect the brakes for wear and damage
Visual inspection: Look for uneven wear on the brake pads, which can indicate misalignment or worn rotors. Check for cracks or chips in the pads and ensure they aren't excessively thin (consult your manual for minimum thickness).
Physical check: Spin each wheel freely. If you hear grinding or detect significant resistance, it suggests worn pads or rotor damage. Look for leaks around the calipers or brake lines that could signal fluid loss.
Test drive: Take the cart for a slow spin and apply brakes firmly but smoothly. Notice any pulsating sensations, pulling towards one side, or spongy pedal feel, which could indicate deeper brake system issues.
3. Cleaning and Polishing
Beyond mechanical aspects, appearance matters too. Regular cleaning and polishing not only keep your golf cart looking great but also protect the paint and other surfaces from damage.
Monthly Checklist
1. Lubrication of Moving Parts
Keep your golf cart running smoothly by lubricating moving parts such as the steering components and suspension. Monthly lubrication prevents friction, reducing wear and tear on vital components.
2. Clean the air filter
The air filter cleaning process depends on its type:
Paper filter: Consult your manual for replacement intervals. If cleaning, tap out loose dirt (outside!), then use compressed air to blow from the inside out (never the other way!). If heavily soiled, replace it.
Foam filter: Remove and wash with warm soapy water, then rinse thoroughly. Let it air dry completely before re-oiling with light air filter oil (specific to foam filters) and reinstalling.
Cartridge filter: Newer models might use washable cartridges. Follow the manufacturer's instructions for cleaning and re-oiling, similar to foam filters. Remember, proper cleaning and oiling are crucial for optimal engine performance.
3. Inspect the belts and hoses for wear and damage
Visually inspect the belts: Look for any cracks, glazing, fraying, or missing chunks. The belts should also be properly tensioned and aligned. Squeeze the hoses: They should feel firm and elastic, not soft or brittle. Look for any bulges, leaks, or cracks. Follow the belts and hoses around the engine: Make sure they are securely routed and not rubbing against any sharp edges.
Yearly Checklist
1. Change the engine oil and filter (if applicable)
Prep and drain: Warm up the engine for a few minutes, then locate the drain plug and oil filter. Place a drain pan underneath and carefully remove the plug, letting the oil flow out completely. Replace the plug with a new gasket.
Replace the filter: Unscrew the old oil filter using a filter wrench. Apply a thin film of fresh oil to the gasket of the new filter and screw it on hand-tight until snug. Don't overtighten!
Add new oil: Consult your manual for the correct oil type and capacity. Slowly pour in the new oil, checking the dipstick frequently until it reaches the "full" mark. Start the engine briefly and let it run for a minute, then recheck the oil level and top up if needed. Remember to properly dispose of the used oil and filter!
2. Have the brakes checked and serviced by a qualified technician
Seek expert assessment: While basic brake checks are doable, thorough inspection and service require specialized knowledge and tools. Trust a qualified technician to accurately diagnose brake wear, alignment, and fluid condition.
3. Have the electrical system checked by a qualified technician
Expert diagnosis: Golf cart electrical systems can be complex, involving batteries, wiring, controllers, and more. While checking lights and basic connections is possible, leave in-depth diagnosis and repairs to a qualified technician with the expertise and tools to identify hidden issues.
Elevate Your Golf Experience
Mastering the golf cart maintenance checklist ensures your golf cart remains a reliable companion on the greens. From routine golf carts maintenance to addressing electric golf cart specifics, Golf Cart of ATX empowers you to enhance your golfing experience. Explore reliable golf cart repair services and trusted golf cart dealer in Austin cementing your status as a responsible golf cart owner. Your golf cart deserves the best, dont wait, call us now!


